- Getting started
- Installing Theme and Plugins
- Demo Content Installation
- Theme Options
- Sidebars / Widgets
- Setting the slider
- Setting the pages
- Setting the Blog
- Setting the Portfolio
- Setting the Team Members
- Setting the Testimonials
- Setting the Client's Logo
- One-page site
- Visual Composer
- Setting WPML Multi-Lanuage
- Translation
- Shortcodes
- FAQ
- Sources / Credits
Demo Content Installation
Demo Content Installation
Note: Please make sure you install the ThemeMount Extras for Arley Theme plugin as this plugin is required to setup demo content. Click here to know more about how to install this plugin.
We set easy steps to setup demo Content. Please follow these steps and you will get exact copy of demo content in just 5 minutes:
- One Click Demo content setup:
This will setup page, post and other post type data. Also this will setup menu, widgets and homepage too. - Slider Setup (Revolution Slider):
Than you can import demo slider in Revolution Slider. - Breadcrumb Changes (Breadcrumb NavXT):
Do some minor changes to get same breadcrumb look same as our demo site.
1. Demo Content Installation back to top
Demo Content installation is super-easy with Arley. We have developed one click demo content setup process so your site will become same as our demo site in just some minutes.
Just go to Admin Panel > Appearance > Theme Options and go to Layout Settings tab. Here you will find Demo Content Setup section like this:

Just click on the Demo Content Setup button and read the instructions:

Now click on the I agree, continue demo content setup button and the installation process will start (this process may take 5 or 10 minutes depends on your server performance):

When finished, you will see message like this:
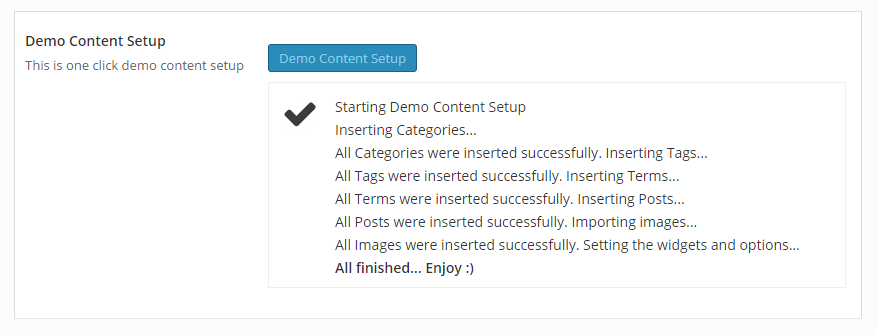
Now your site will be same as our demo site.
Tips: The above step will add demo content but it will not add sliders and other settings. Please follow steps given below to setup slider and other settings so you will get exact same copy of our demo site.
2. Slider Setup (Revolution Slider) back to top
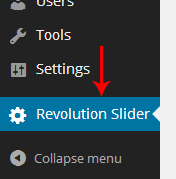 We also provided Revolution Slider exported script so you can get same slider as our demo site. (If you haven't installed Revolution Slider, than please go to Plugin Installation section).
You can also download Revolution Slider help document to understand how to work with it. Just go to this link and download "Revolution Slider Documentation.zip".
Follow the steps given below to setup sliders:
- First you need to download the slider backup files. Here is the link to download backup file:
- Than go to Admin section and click on "Revolution Slider" from left side navigation.
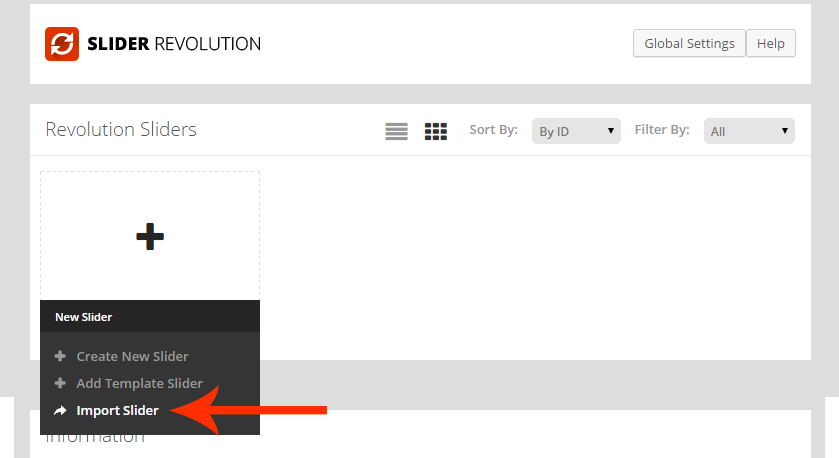
- Now click on "Import Slider" button.
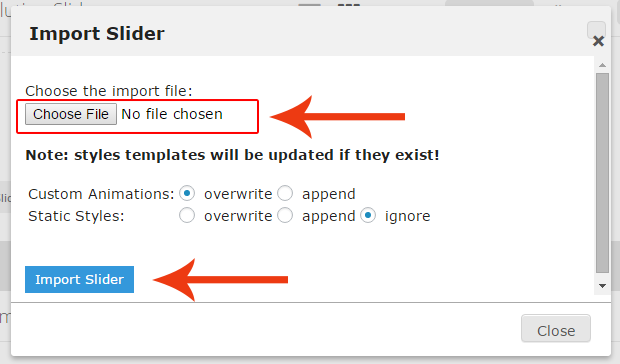
- Now select homepage_slider.zip file and click on "Import Slider" button.
- Now the slider is imported and working. You can see the slider as given below:

- That's it.
3. Breadcrumb Changes (Breadcrumb NavXT) back to top
Arley theme comes with Breadcrumb NavXT plugin support. We are modifying some settings to get full benefit of it. Follow the steps given below to set the changes:
- Go to Settings > Breadcrumb NavXT section:
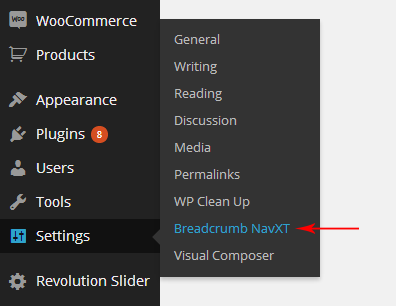
- Now fill the code as given below in three boxes:
- Under the "General" tab: In the "Breadcrumb Separator" box fill this code:
⁄
- Under the "General" tab: In the "Home Template" box fill this code:
<span typeof="v:Breadcrumb"><a rel="v:url" property="v:title" title="Go to %title%." href="%link%" class="%type%"><i class="fa fa-home"></i><span class="hide">%htitle%</span></a></span>
- Under the "General" tab: In the "Home Template (Unlinked)" box fill this code:
<span typeof="v:Breadcrumb"><span property="v:title"><i class="fa fa-home"></i><span class="hide">%htitle%</span></span></span>
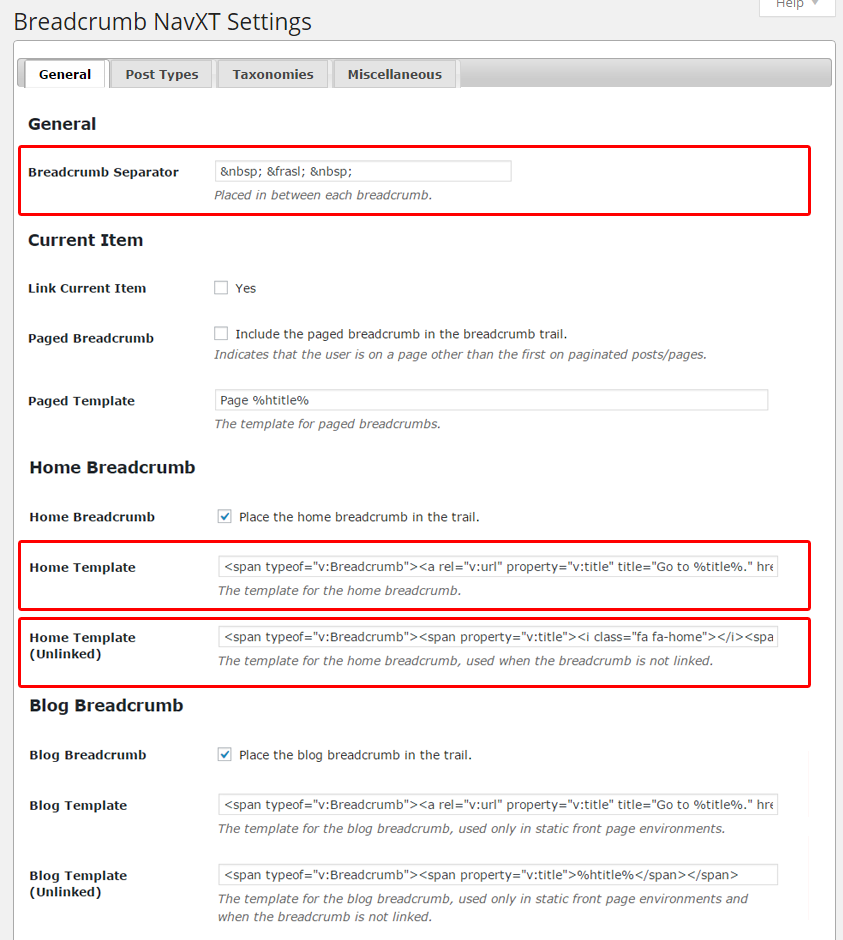
- Under the "General" tab: In the "Breadcrumb Separator" box fill this code:
- Now click on
Save Changesbutton to save the changes. - Done.. Enjoy
